How can we help riders improve their jumping position?
Special coach – You want to help your riders to improve their jumping position? Here are some tips from William Fox Pitton how to do it!
According to an IFCE webconference, the rider’s position is important for 3 reasons:
- communicate with the horse in a serene way thanks to a flexible and relaxed body
- maintain balance in movement
- to be safe
The right position, or posture, is therefore essential to obtain a good communication between the rider and the horse. When jumping, this will condition the good efficiency of the rider. Indeed, a rider destabilized by the jump, or whose functioning is not optimal, will not be able to be precise in their actions and will lose the control they need to complete their course.
Regularly correcting the rider’s positional or functional faults when jumping is therefore absolutely essential to guide them to success.
Table des matières
Theoretical reminders on the correct jumping position
According to the FFE training plan, balance when jumping is taught early on, (Finding your balance at trot and at canter & discovering your balance on isolated jumps), up to an advanced level where balance when jumping must be acquired on close jump courses, and on varied terrain.
Short biomechanical point
In fact, what biomechanics teaches us is that we are in equilibrium when the vertical projection of the center of gravity is within the sustentation polygon. The sustentation polygon is the surface created between all the points of support.
When we are standing, the sustentation polygon is the surface of the two feet and the polygon that connects them. To keep in balance, the vertical line that passes through the center of gravity must arrive in this polygon.
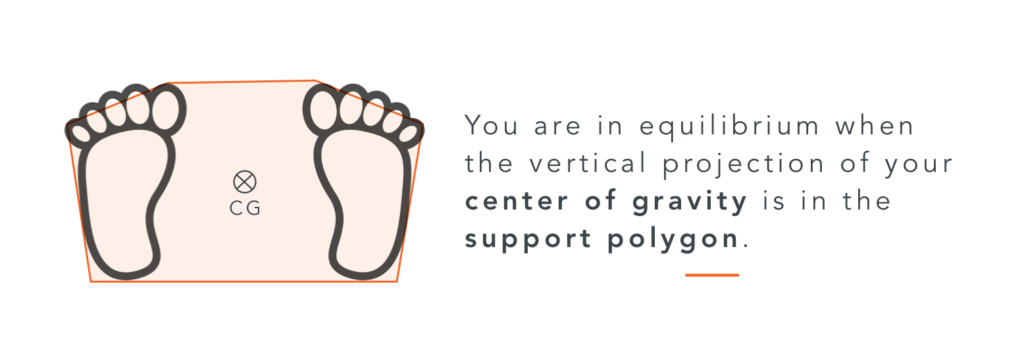
On horseback, the sustentation polygon is therefore reduced to the rectangle that encompasses the two stirrup floors, which is not much. It is easy to understand why a front/rear position error is so quickly penalizing. And it is also easy to understand why the width of the stirrup floors is so important for riders.
2 Point Position? 2.5? 3 Point?
These points are in fact the contact points of the rider with the horse.
In the 2 point position, the rider is in contact with their horse only with their two legs.
In the 2,5 point position, the rider is in contact with their horse thanks to their 2 legs, as well as the buttocks which are really close to the saddle.
Finally, in the 3-point position, the buttocks are clearly in contact with the saddle, but the rider keeps their weight well distributed in the stirrups, unlike in a classic sitting position.
Observables
- Check that the rider’s belly button is vertical to the stirrups. This is how you ensure that the rider is balanced and not being carried by the horse.
- Check all of the rider’s joints for proper function. The hip joint, knee and ankle should cushion the horse’s movements.
- Stirrup leathers should be vertical.
- The rider’s hands should be in front of their shoulders and in front of the horse’s withers.
- Do not neglect the importance of the look, carried far away to help the rider to stabilize themselves.
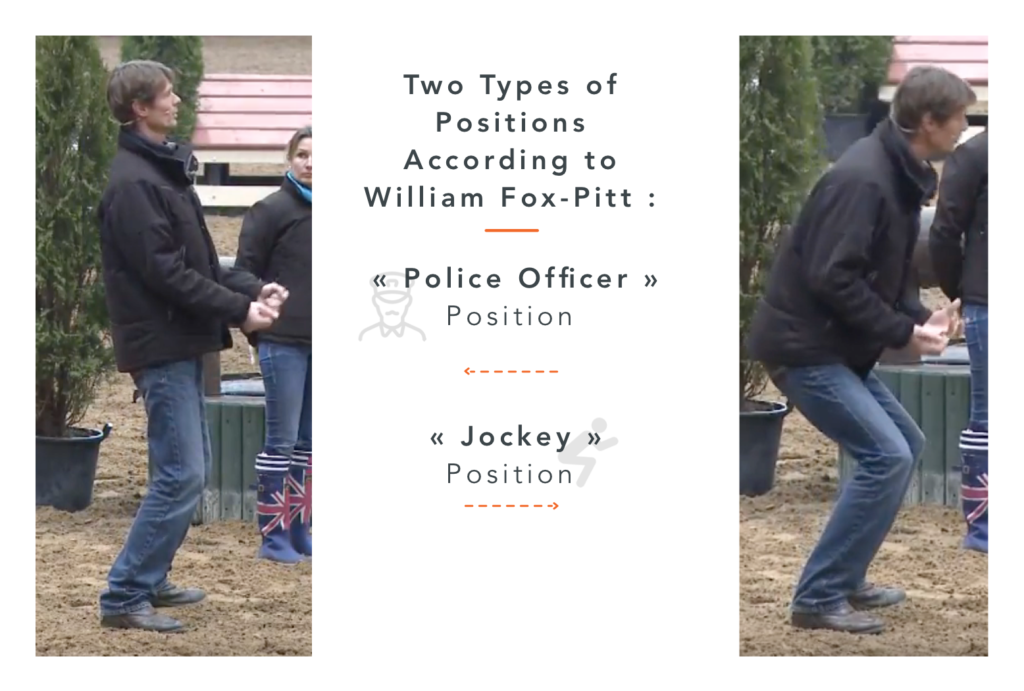
William Fox Pitt’s advice on how to improve the jumping position
In a previous detailed article, we explained the technique that William Fox Pitt, an immense English eventer – both in size (1.98m) and talent – teaches his riders.
For him, the right balance for a rider, whether on the flat or over jumps, is when you can take the rider in the position in which they are riding, put them on the ground in that position, and the rider stands on their feet. If they fall in front or behind, it is the horse that must compensate for this imbalance and carry them.
He recommends riding with all joints very flexed, shoulders forward of the vertical and buttocks back. A bit like doing squats.
The solution to this is to shorten the stirrups. The problem with “too long” stirrups is that the rider doesn’t have enough room to flex their joints while staying above the saddle. As soon as the rider flexes, they touch the saddle and therefore impact the horse.
Some riders will feel more vulnerable because they have less surface contact with the horse’s belly, but according to him, shorter stirrups stabilize the lower leg much more and therefore make the rider more secure.
The position he recommends is therefore a position called “2 point”, or “jockey”.
Your turn to try with your riders!
Advice from the coaches! 💡
We asked you what techniques you use to help riders improve their jumping position, here are your answers:
The first thing I look at is the positioning of the saddle (proper fitting). Over the years, I have noticed that riders are often “forcing/countering” an ill-fitting or inadequate saddle for them when jumping. They are always looking for balance/center of gravity to stabilize their positions.
Julie C.
→ Don’t hesitate to contact saddle experts or saddle fitters to help you get well-fitting and well-balanced saddles for your riders!
Another coach offers her 3 techniques: video and mime, which she details here:
For the video, the principle is very simple. Set up a line of obstacles with bounce jumps, vertical and oxer. Film the rider and then show them (very easy with a cell phone).
For the mime it’s a bit more funny. The instructor should imitate the rider’s position at the time of the jump (using a cube for a horse for example). Then show them the one you want to obtain.
Finally, as a third technique, you can use another rider who has the same issue, and point it out to them so that they can improve.
📚 Also read: Sensor or Coach – Why Choose?
Some suggestions for exercises or methods to help riders improve their jumping position
All these exercises can be found in our Equisense mobile app. Download it for free on iOS or Android.
1. “The Policeman and the Jockey”
Make your riders’ stirrups very short (3-4 holes shorter at least), and make them alternate between a 2-point, 2.5-point and 3-point position.
You can do this on the flat but also with a jump, on an isolated jump without technical difficulty.

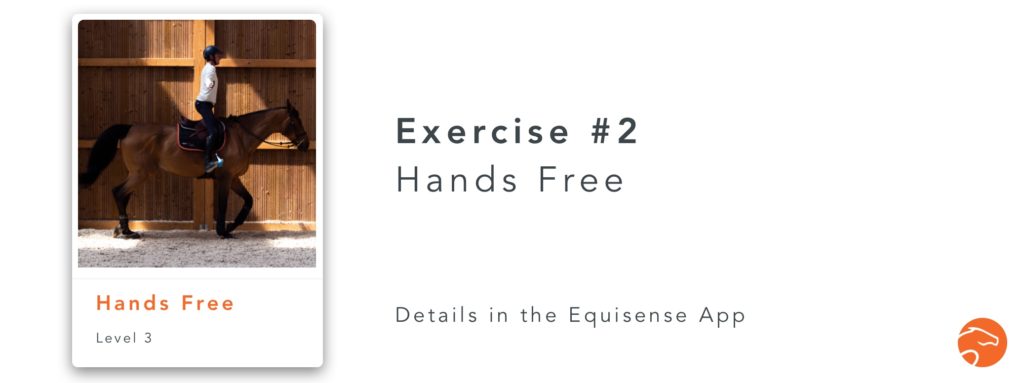
2. Seat work, with no hands
During a seat work session, have them work without the reins, keeping their hands in front of them. Without the tension in the reins, balance errors are much more visible.
3. Film one of your sessions
For one or more sessions, film your riders to show them the positional flaws. Show them the video between each pass so they can correct themselves for the next one.